Pages

▼
Drop Down MenusCSS Drop Down MenuPure CSS Dropdown Menu

How to Pick the Perfect Day Pack

choosing daypack
Are you shopping for a day pack but feel overwhelmed by all the options? Will you be buying your first day pack? With so many packs on the market right now, choosing the right one can be tough. This post will help you make a decision with confidence and save you from buyers remorse.

I have owned and used lots of day packs over my 10 years teaching outdoors, in a wide variety of activities and conditions. I've learned the best features for different activities and environments. 

DIY 20°F Ultralight Backpacking Quilt Part 4-
Final Touches and Thoughts

Final Touches

Installing the Cord / Bungee

  • Cut your cord or bungee at least 6 inches longer than the length of your casing. This will make it easier to tie knots in once it is in place. 
  • Use some wire (I used a paper clip) to create a hook that will enable you to feed your cord through the casing
  • I used glow in the dark paracord because I had a bunch laying around. To reduce bulk and weight, I removed the core strands. 

My hook made from a paperclip
Drawcord with mini-cord locks installed


DIY 20°F Ultralight Backpacking Quilt Part 3 - Pinning and Sewing


Stacking and Pinning

If you are using thick insulation like I am, you will definitely need 'quilting' length straight pins. Using regular length pins will not work. I bought 1 3/4" pins for 7.5oz Climashield and it worked. If I had 10oz I would need longer pins. 
  • Pin your Shell and Liner fabric with right sides together. If your fabric has a side that is more shiny, that is the 'wrong' side
  • Sandwich the straps or draft flaps between the shell and liner, with the end of the strap/flap you want to be on the outside edge of your quilt pointing toward the center line of the quilt
  • After you've pinned the shell and liner to each other, pin the insulation on the bottom to them. The insulation will run against the feed dogs of your sewing machine


DIY 20°F Backpacking Quilt Part 2- Marking and Cutting

What you need to mark and cut

  • Weller Woodburner or a hot knife. Any nylon fabric needs to be cut with heat so that the edges are sealed and will not unravel. Even capturing the edge with a french seam only delays unraveling. 
  • Some sort of heat-resistant material to put under your shell and liner fabrics- either a piece of wood, metal or glass. A few people online have used scissors to cut the fabric and then sealed the edge with a lighter, but they say it is extremely easy to accidentally melt too much fabric.
  • Good Sharp Fabric Scissors at least 9" long if you are working with thick insulation like I am. If your insulation is thinner, smaller scissors will work. Just make sure they're sharp. 
  • Permanent fine tip marker
  • Tailors chalk

DIY 20°F Ultralight Backpacking Quilt for $100 Part One

Why a Quilt?

This is what I already have-
The fitted sheet and tech blanket by
Thermarest
I chose to use a quilt for my sleep system this summer for several reasons:
  1. The insulation underneath you in a sleeping bag gets so compressed that hardly provides any insulation
  2. Quilts weigh less
  3. I toss and turn at night and sleep on my stomach, back and side. Mummy bags annoy me. 
  4. I already have the Thermarest sleep system which consists of a fitted sheet for my sleeping pad and a very lightweight tech blanket that snaps to it. I plan to use my fitted sheet with my DIY cold weather quilt. 
  5. I couldn't afford a high quality 20°F mummy bag that weighed a reasonable amount. 
Why bother making it myself?
  1. I have read online that people with no sewing experience have been very successful making these. I have a good amount of sewing experience so I hope it will be easier for me.
  2. The wait time to get a quilt from a manufacturer is up to 8 weeks and I didn't have that long to wait. 
  3. I saved $80 by making it myself
  4. I get to make my blanket in the colors I want and with all the details I want

Design and Dimensions

My quilt design is based on the Prodigy Quilt by Enlightened Equipment.
I think the Prodigy is a good product at a reasonable price ($180), but I really needed to save the $80 and make it myself. I also wanted specific colors and a specific kind of liner fabric. 
I picked this design for several reasons:
Prodigy Quilt by
Enlightened Equipment
  1. A casing (sewn channel of fabric) at the shoulders and foot with a bungee cord inside make it easy to create a foot box and cinch the quilt around the shoulders, eliminating heat loss.
  2. The simplicity of the design lends itself to ease of construction- it is a simple polygon without a hood, pockets or sewn channels
  3. The Enlightened Equipment website provides the exact dimensions for quilts to fit different sized people which eliminated the guesswork of figuring out how long and wide my quilt needed to be in order to be comfortable for my size. Here is a link to their Quilt Sizing page which has all the details.
I used the specs for the Short length, Narrow Width quilt which is for little people up to 5'6" who sleep on their backs or toss and turn at night. The finished specs for it are as follows:
Basic Specs:
Total length: 72"
Top half width- 50"
Tapers to 38 " at the foot box.
Insulation- 7.5 ounce Climashield (synthetic insulation)

Weight- 29.65 ounces

I chose to make my quilt go to 20°F because I tend to be a very cold sleeper. Here is a chart to help you choose which weight Climashield you should use:
2.5 oz - 50°F $7.00/yd
3.6 oz - 40°F $9.00/yd
5.0 oz - 30°F $10.95/yd
6.0 oz- 20°F $14.00/yd (only available from DutchWare Gear)
7.5 oz - 10°F $16.95/yd
10 oz - 0°F $23.50/yd
Materials List:
Total Cost: $96 with shipping

Tools and necessities:
  • Sewing Machine with walking foot
  • Quilting Straight pins at least 1 3/4" long
  • Hot knife / Woodburner with blade tip or scissors and lighter for cutting nylon
  • Lighter for sealing cut ends of bungee and elastic
  • Measuring tape
  • Yardstick or long straight edge
  • Square
  • Tailors chalk
  • Dumbell weights to hold materials down
Connection Options
Many quilts including those from Enlightened Equipment and Thermarest have systems to connect the quilt to the sleeping pad. This keeps the quilt from moving around when you toss and turn. 
The Enlightened Equipment
quilt strap system

The Enlightened Equipment system uses small clips along the sides of the quilt that correspond with clips on pieces of elastic that fit around the sleeping pad. This enables the user to snug the quilt up tightly around the body in cold weather. This system would be easy to integrate into a DIY quilt. Here is a link to a detailed description of how that system works.

Thermarest Loops and Snaps
Thermarest uses a system for their quilts which is much simpler than Enlightened Equipment but it doesn't give the user the ability to snug the quilt up around the body. This system uses small loops on the sleeping pad or sheet and little straps with snaps on the quilt itself. This system would be easier to incorporate into a DIY quilt and easily fixed if a snap broke.  


Someone on the Hammock Forums mentioned adding 'draft stoppers' to the edges of
Ray Way finished quilt
The darker blue fabric on the edges
 is the draft stopper 
the quilt. These draft stoppers are just single layers of 6" wide shell fabric sewn to the edges of the quilt. They eliminate any drafts that might occur from a gap between the quilt and the sleeping pad / ground. I did a bit of research and found that the 
Ray Way Quilt Kit uses this design. The image to the right shows a Ray Way quilt turned upside-down so you can see the draft stopper edges. 


Did you find this post helpful? Do you enjoy reading this blog? Help me keep it going by buying me a 'coffee'


Ready to get started? Click HERE for Part Two


3 months of Toiletries in One Small Bag, No Refills

travel toiletries in bag

The photo above is every toiletry item I need for 6 months. Seriously, without refilling anything.
That includes menstrual products.  
Keep reading to see what and how I pack....

Super Easy DIY Travel Deodorant

DIY Tiny Custom Deodorant
DIY travel deodorant
I am so picky when it comes to deodorant, and have never found my favorite kind abroad. I typically travel with a full size tube when I'll be gone for a long time, but this technique is better for shorter trips. It's also a great way to customize the scent of your deodorant. Just buy an unscented stick and add your own essential oils or fragrance for a custom scent. Want to eliminate chemicals from your deodorant? Check out this chemical-free recipe from Scratch Mommy.


Supplies:


  • Solid deodorant
  • An empty deodorant tube 
  • Knife
  • Microwave
  • Small glass bowl
  • Sink and paper towels
  • Optional fragrance


  • No More Jet Lag


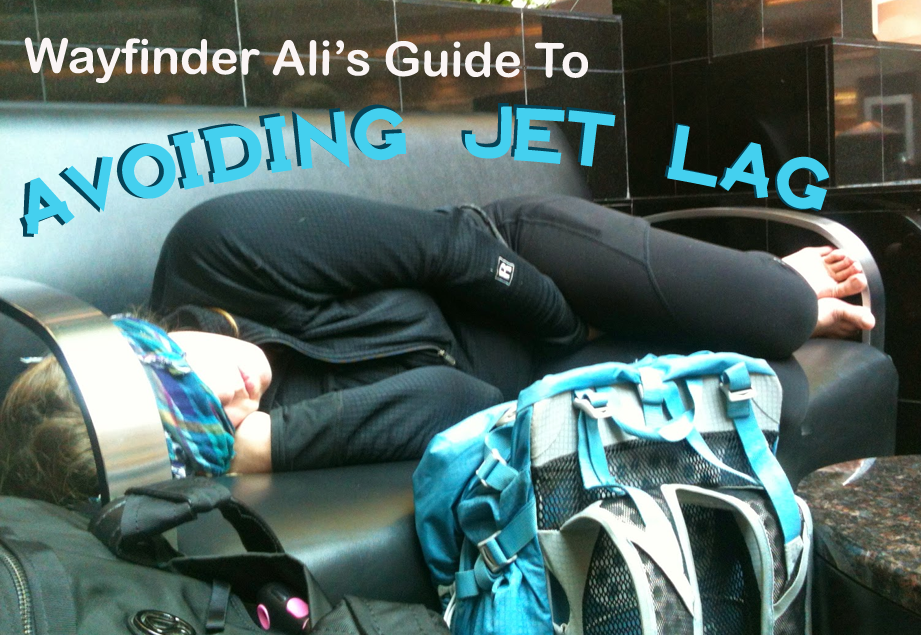
    I am a jet lag wizard. I manage to avoid jet lag without drugs or sleep aids. In December I flew home from Hong Kong to North Carolina- a 13 hour time difference with no jet lag.
    Catching some sleep in ATL after an all-nighter.
    It may be 3pm in Georgia, but is midnight in my destination

    Jet lag is the worst, especially if you're on vacation. You don't want to be exhausted while trying to enjoy your adventure, and then you definitely don't want to feel you have to "recover" from vacation once you get home and head back to work. For me, I have to avoid jet lag because I often have to work the first day I arrive in a new country. The first time I flew to the other side of the world, I really didn't even think about it until it happened. My first few days were so rough. I remember thinking "what's wrong with me?" while I desperately tried to stay awake at 3pm.

    Now, I rarely experience jet-lag because I follow my jet lag protocol which includes altering eating drinking and sleeping habits only during travel.

    Traveling Light: Ultimate Guide to Awesome Women's Travel Clothes

    ultimate women travel clothes
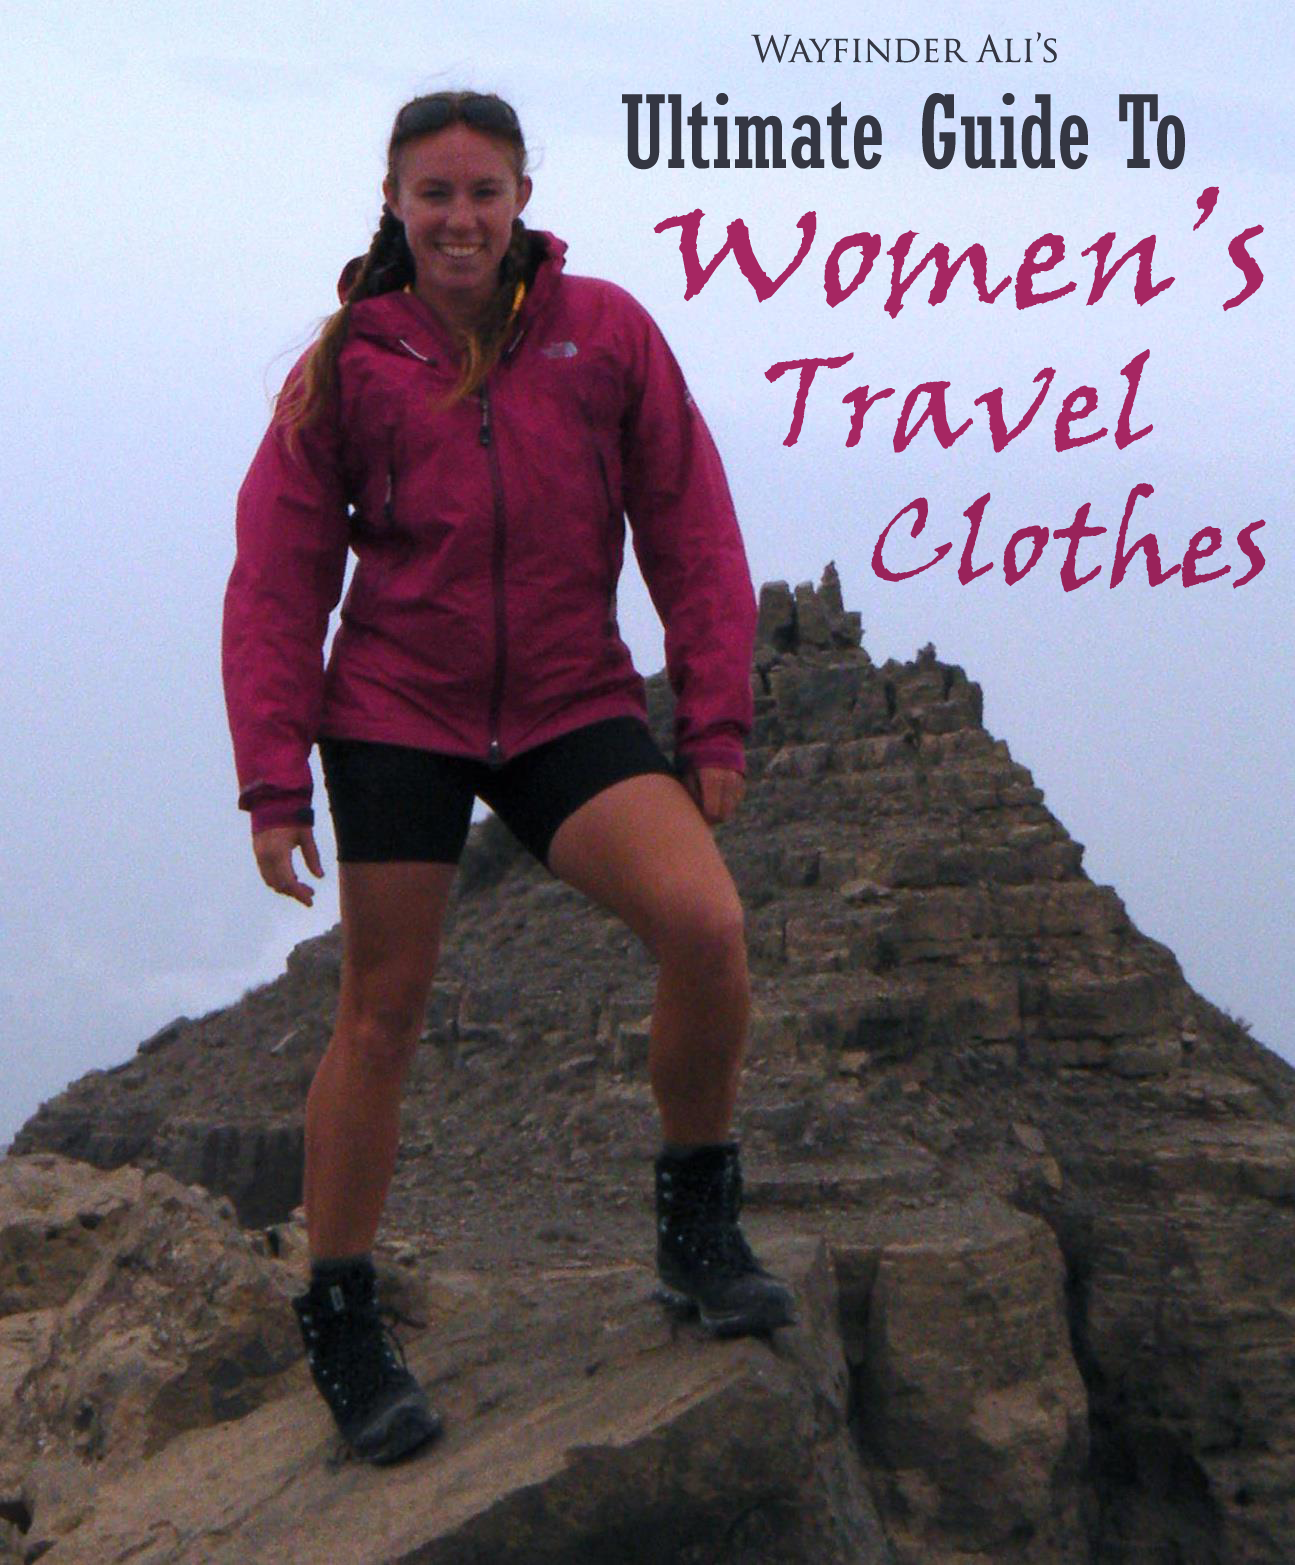
    The North Face Gore-Tex Packlite Jacket and Lululemon shorts
    The key to successful travel clothes is making sure that what you are wearing is not only comfortable and functional, but also reflects your personal style. The tips and suggestions here will help you use clothes you already own into travel clothes, turn stylish finds into multi-functional pieces and buy new items to fit your needs.

    The clothes you bring on your journey should be:
    • wrinkle resistant
    • stain resistant
    • fast drying
    • multi-functional
    • have secure pockets
    • be comfortable

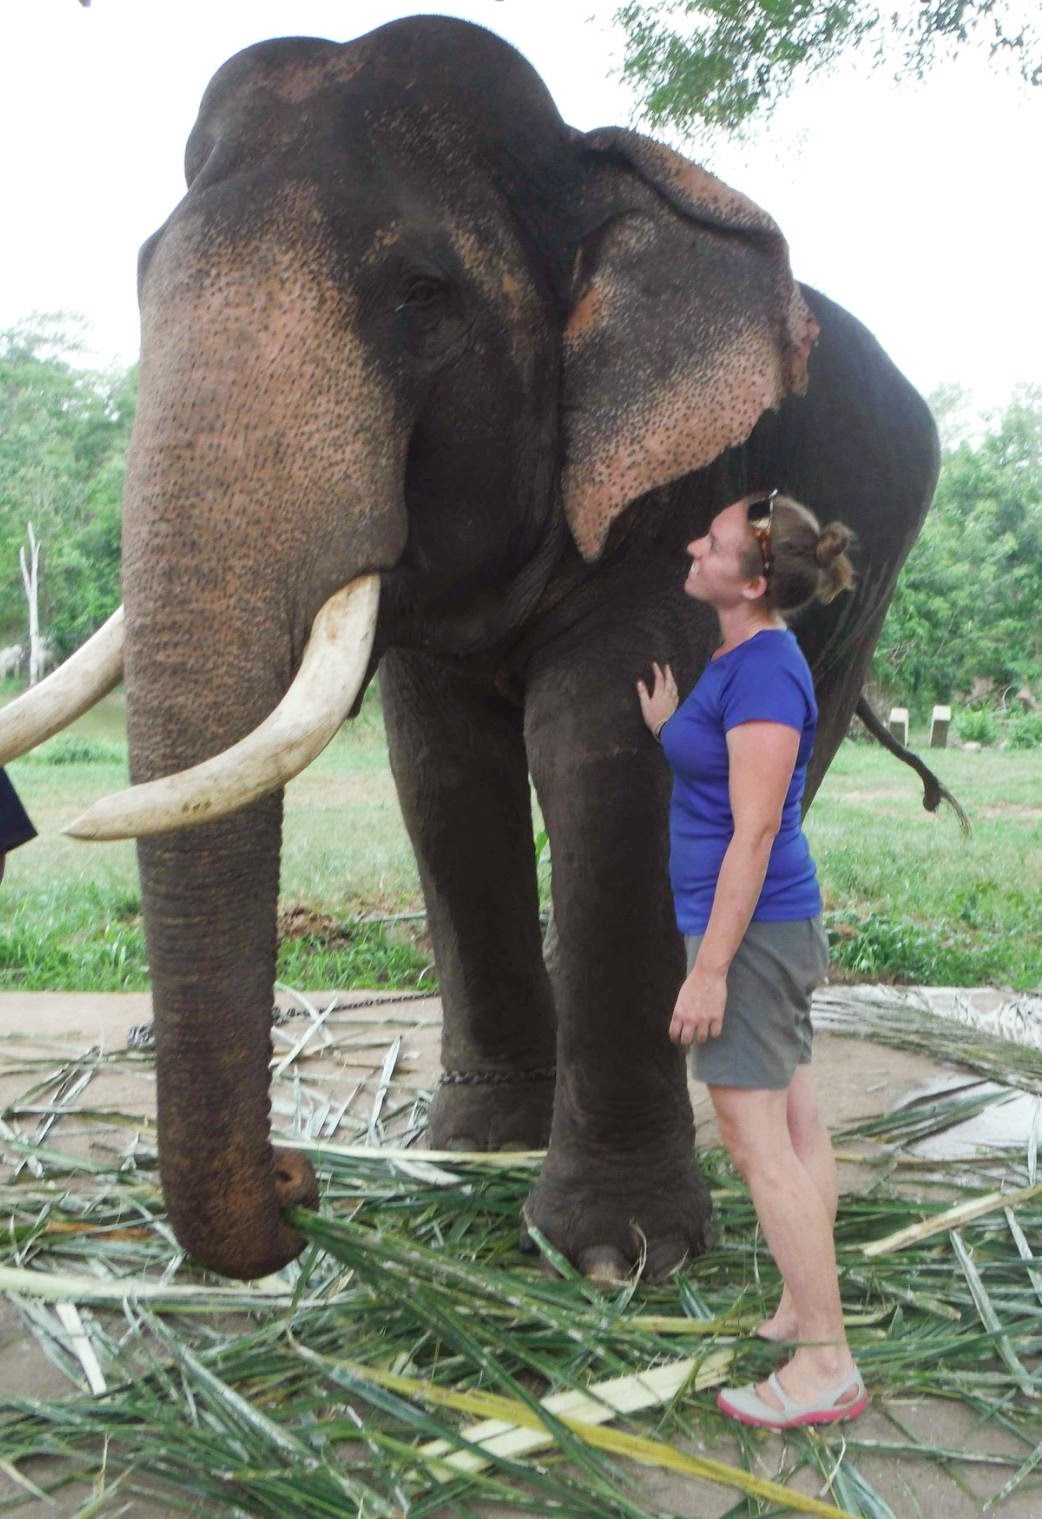
    Wayfinder Ali with bull elephant in Thailand
    At an elephant sanctuary in Thailand, wearing 
    Patagonia Quandry Shorts and a C9 top from Target


    Why are these qualities important? 
    Adventure is full of the unexpected. Laundry facilities are rarely accessible, rain storms come out of nowhere, and there are always spontaneous adventures to partake in. 

    You might spend a morning hiking and the afternoon sampling wine. You'll have more time to do both if you don't have to stop by your hotel room to change clothes. 

    You'll be able to wash your clothes in your sink at night and they'll be dry by morning. 

    You also want clothes, underwear and socks that won't start to stink after wearing them for more than a day or two.

    Raid Your Closet
    Before you buy anything, its time to go through your closet.You probably already have several pieces in there that would be great for travel. Here is what to look for:


    Traveling Light - How to pack for International Travel [Infographic]

    For the past several years, I have been traveling abroad working as an outdoor educator. I live (literally) out of a backpack. The places I go vary from luxurious hotels to bamboo huts with no modern amenities. I am in jungles, on mountains and by the sea. My bags get dropped, dragged, strapped to trucks, tractors and even elephants now and then. I've endured carrying too much stuff and missing an important item, having emerged with a method that works. I hope that my tips and tricks will make your packing easier, more efficient and effective. To help us all pack better, I've created this flow chart. 

    Does it work for you?


    Here is a photo of what I packed for a 6 month trip to Asia. Everything fit in those two bags. The blue backpack was my carry-on and my laptop bag was my "personal item" and fit under the seat. 


    Grains of Salt......Things to know before we continue.....
    • I have an unhealthy obsession with tiny things. Seriously I have the worlds tiniest, and cutest, tin of Tiger Balm, among other things like nail clippers and tweezers and pens and......
    • You should never have more than two bags. One on your back and one on your front. Otherwise you'll be miserable trying to carry everything around on subways and in airports. I have broken this rule, mainly when I knew I would have an apartment to live in. Getting from the airport to the apartment and back was not fun....
    • I don't trust the airlines and therefore make every attempt to not check anything. Many of the tips in this series will be aimed at getting everything into a carry-on and "personal bag", and capitalizing on the carry-on allotments. 
    • I am an adventure instructor. My travel focus is more of a cross between a tourist backpacker and a wilderness instructor. None of my bags have wheels and fashion is not a top priority. If you're planning to spend a year in southeast Asia keep reading. If you're planning a shopping spree in Paris, some tips may not fit your trip. 
    • I generally go for overkill. Why use a regular stuff sack when I could use a waterproof one? 

    Ready to get started? Check out these two posts for men's and women's travel clothes.